Step 1: Open Eclipse and create new gradle project ‘junit5-gradle-hello-world’.
File -> New -> Other.

Gradle -> Gradle Project.

Click on Next button.
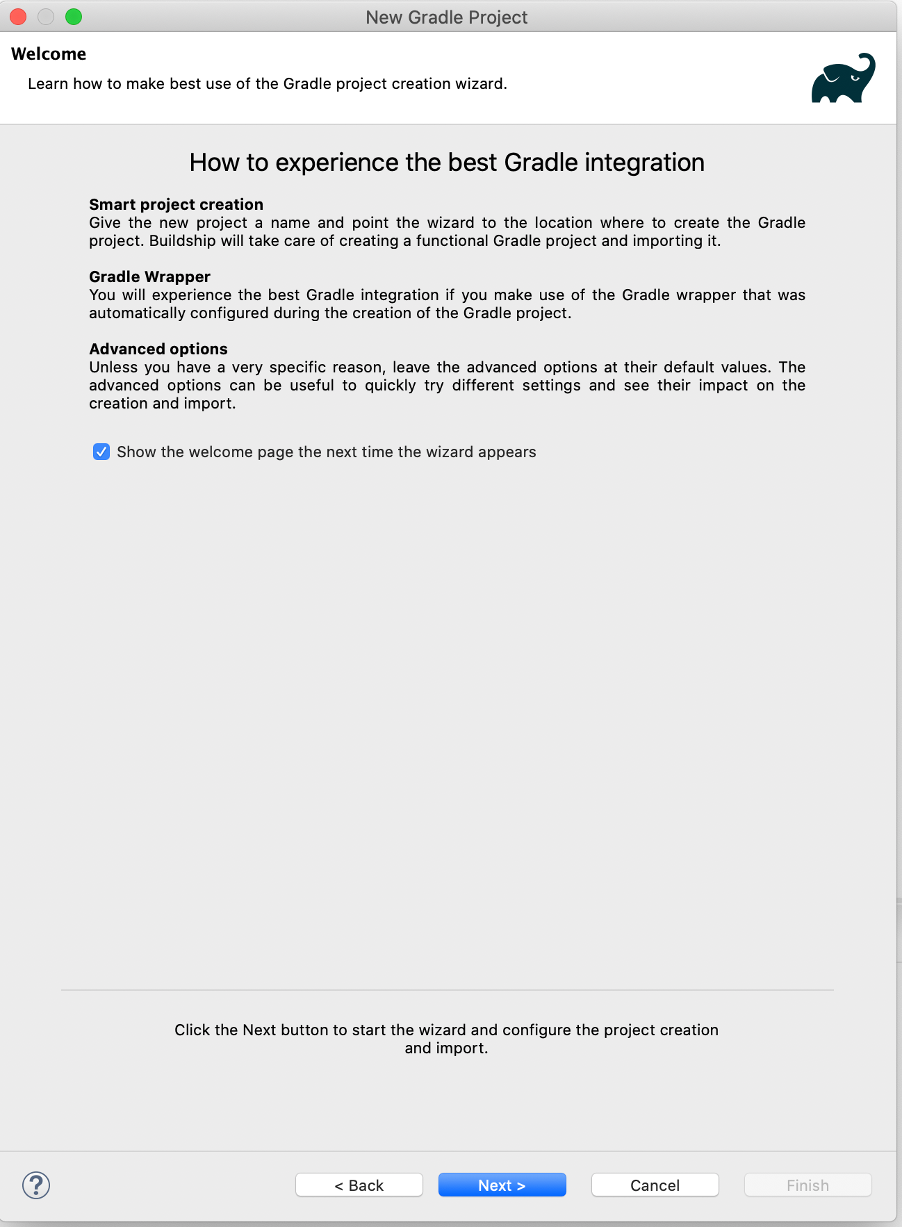
Click on Next button.
Give the project name as ‘junit5-gradle-hello-world’.

Click on Finish button.
Project structure looks like below.

Step 2: Update build.gradle with dependencies.
build.gradle
repositories {
    mavenCentral()
}

ext {
    junitJupiterVersion  = '5.6.1'
}

apply plugin: 'java'
apply plugin: 'eclipse'
apply plugin: 'idea'

jar {
    baseName = 'junit5-gradle-hello-world'
    version = '1.0.0'
}

test {
    useJUnitPlatform()

    testLogging {
        events "passed", "skipped", "failed"
    }
}

compileTestJava {
    sourceCompatibility = 1.8
    targetCompatibility = 1.8
    options.compilerArgs += '-parameters'
}

dependencies {
    testCompile("org.junit.jupiter:junit-jupiter-engine:${junitJupiterVersion}")
}
Step 3: Refresh gradle project to download dependencies.
Right click on project -> Gradle -> Refresh Gradle Project.

Step 4: Create new package com.sample.app under src/test/java and define AppTest class in it.
AppTest.java
package com.sample.app;

import static org.junit.jupiter.api.Assertions.assertTrue;

import org.junit.jupiter.api.Test;

public class AppTest {

    @Test
    public void helloTest() {
        assertTrue(true);
    }

}
Step 4: Runt junit tests.
Right click in AppTest.java -> Run As -> Junit Test.

You can see the results in junit window.

You can download complete working application from this link.
https://github.com/harikrishna553/junit5/tree/master/junit5-gradle-hello-world
Previous Next Home
No comments:
Post a Comment