In this
post, i am going to explain, how to create beans using constructor injection.
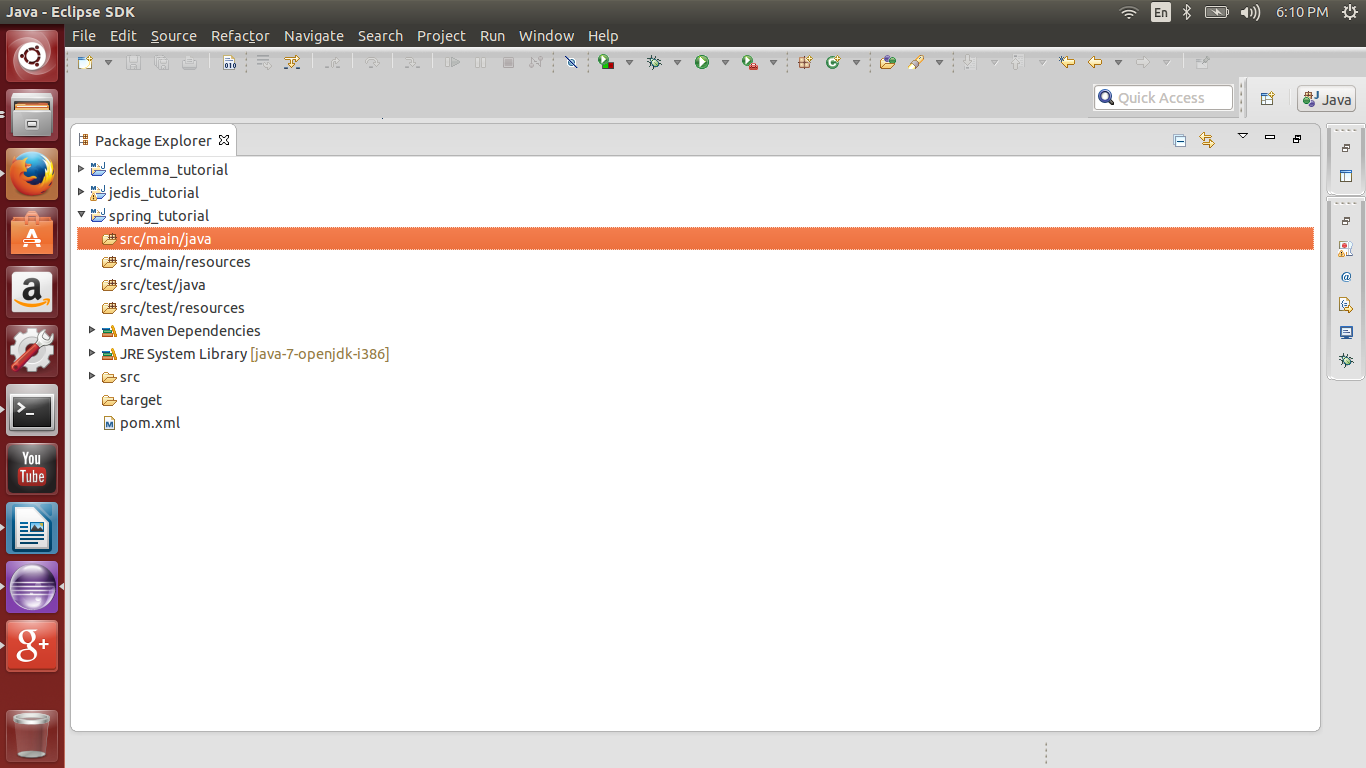
Step 1
: Create new
maven project “spring_tuorial”. Project structure looks like below.
Step 2
: Update
“pom.xml” file for maven dependencies.
pom.xml
<project xmlns="http://maven.apache.org/POM/4.0.0" xmlns:xsi="http://www.w3.org/2001/XMLSchema-instance"
 xsi:schemaLocation="http://maven.apache.org/POM/4.0.0 http://maven.apache.org/xsd/maven-4.0.0.xsd">
 <modelVersion>4.0.0</modelVersion>
 <groupId>spring_tutorial</groupId>
 <artifactId>spring_tutorial</artifactId>
 <version>0.0.1-SNAPSHOT</version>
 <packaging>war</packaging>
 <name>spring_tutorial</name>
 <description>spring_tutorial</description>
 <properties>
  <org.springframework-version>4.1.5.RELEASE</org.springframework-version>
 </properties>

 <dependencies>
  <dependency>
   <groupId>org.springframework</groupId>
   <artifactId>spring-context</artifactId>
   <version>${org.springframework-version}</version>
  </dependency>

 </dependencies>
</project>
Step
3: Create new
package “com.springtutorial.model” under “src/main/java”.
Step
4: Create “Employee”
class under the package “com.springtutorial.model”.
package com.springtutorial.model;

public class Employee {
  private String firstName;
  private String lastName;
  private int id;

  public Employee() {

  }

  public Employee(int id, String firstName) {
    this.id = id;
    this.firstName = firstName;
  }

  public Employee(String firstName, String lastName) {
    this.firstName = firstName;
    this.lastName = lastName;
  }

  public String getFirstName() {
    return firstName;
  }

  public void setFirstName(String firstName) {
    this.firstName = firstName;
  }

  public String getLastName() {
    return lastName;
  }

  public void setLastName(String lastName) {
    this.lastName = lastName;
  }

  public int getId() {
    return id;
  }

  public void setId(int id) {
    this.id = id;
  }

  @Override
  public String toString() {
    StringBuilder builder = new StringBuilder();
    builder.append("Employee [firstName=").append(firstName).append(", lastName=").append(lastName)
        .append(", id=").append(id).append("]");
    return builder.toString();
  }

}
Step 5
: Create
“spring.xml” file in “src/main/resources”.
spring.xml
<?xml version="1.0" encoding="UTF-8"?>

<beans xmlns="http://www.springframework.org/schema/beans"
 xmlns:xsi="http://www.w3.org/2001/XMLSchema-instance"
 xsi:schemaLocation="http://www.springframework.org/schema/beans
    http://www.springframework.org/schema/beans/spring-beans-3.0.xsd">

 <bean id="employee1" class="com.springtutorial.model.Employee" />

 <bean id="employee2" class="com.springtutorial.model.Employee">
  <constructor-arg type="int" value="553" />
  <constructor-arg type="java.lang.String" value="Hari Krishna" />
 </bean>


 <bean id="employee3" class="com.springtutorial.model.Employee">
  <constructor-arg type="java.lang.String" value="Hari Krishna" />
  <constructor-arg type="java.lang.String" value="Gurram" />
 </bean>


</beans>
"spring.xml"
is used to assign unique IDs to different beans, to control the creation of
objects with different values.
<bean
id="employee1" class="com.springtutorial.model.Employee"
/>
Above
statement initialize Employee class
using default constructor.
<bean
id="employee2" class="com.springtutorial.model.Employee">
<constructor-arg
type="int" value="553" />
<constructor-arg
type="java.lang.String" value="Hari Krishna" />
</bean>
Above
statement initialize Employee class
using constructor “public Employee(int id, String firstName)”.
<bean
id="employee3"
class="com.springtutorial.model.Employee">
<constructor-arg
type="java.lang.String" value="Hari Krishna" />
<constructor-arg
type="java.lang.String" value="Gurram" />
</bean>
Above
statement initialize Employee class
using constructor public Employee(String firstName, String lastName)”.
You have
to make sure that “spring.xml” file is available in CLASSPATH and use the same
name in main application while creating application context as shown in
Main.java file.
Step 6
: Create package
“com.springtutorial.main” under “src/main/java”.
Step 7
: Create Main
class under package “com.springtutorial.main”.
package com.springtutorial.main;

import org.springframework.context.ApplicationContext;
import org.springframework.context.support.ClassPathXmlApplicationContext;

import com.springtutorial.model.Employee;

public class Main {
  public static void main(String args[]) {
    ApplicationContext context = new ClassPathXmlApplicationContext("spring.xml");

    Employee emp1 = (Employee) context.getBean("employee1");
    Employee emp2 = (Employee) context.getBean("employee2");
    Employee emp3 = (Employee) context.getBean("employee3");

    System.out.println(emp1);
    System.out.println(emp2);
    System.out.println(emp3);
  }
}
Step 8
: Run
Main.java,you will get output like below.
Mar 22, 2015 8:49:42 PM org.springframework.context.support.ClassPathXmlApplicationContext prepareRefresh
INFO: Refreshing org.springframework.context.support.ClassPathXmlApplicationContext@12e99be: startup date [Sun Mar 22 20:49:42 IST 2015]; root of context hierarchy
Mar 22, 2015 8:49:42 PM org.springframework.beans.factory.xml.XmlBeanDefinitionReader loadBeanDefinitions
INFO: Loading XML bean definitions from class path resource [spring.xml]
Employee [firstName=null, lastName=null, id=0]
Employee [firstName=Hari Krishna, lastName=null, id=553]
Employee [firstName=Hari Krishna, lastName=Gurram, id=0]
Final
project structure looks like below.

No comments:
Post a Comment